The toolbar shown in figure 7 below is a content toolbar that is commonly available to all editing pages. Each of the tools on the editors’ toolbar is explained in detail below.

Figure 7 Edit Toolbar

To add a hyperlink, click on the button circled in red, and a new "pop-up" panel will open (shown below).
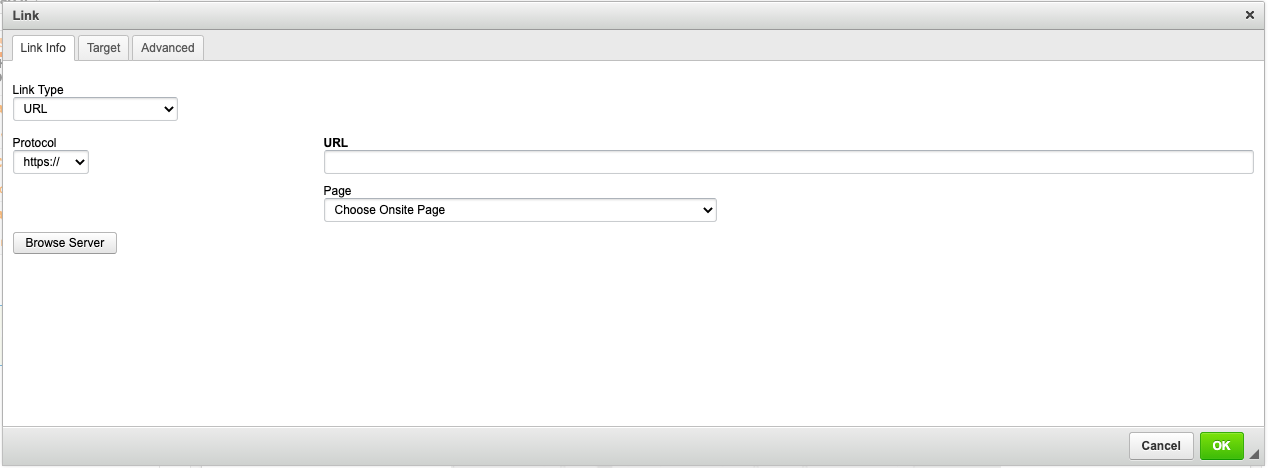
Figure 8: Inserting Hyperlink
This window allows you several choices:
1) You can simply type in (or copy and paste in) the URL of the website you would like to link to, select the Link Type (URL, anchor or mailto: link);
2) You can link to another page on your website using the drop-down menu; or
3) You can click the Browse Server button to link directly to a file or image.
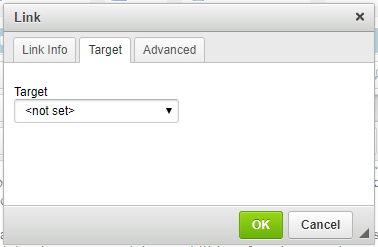
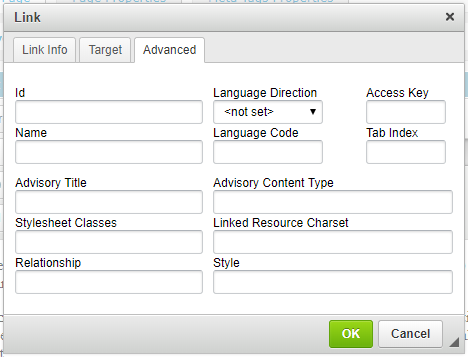
You can further refine the links you create, so that they open in a new window using the target tab (this is very useful for PDF documents or external web links) and have styles added via the advanced window, as shown below.
When you have configured all of the settings, click OK.
To remove a hyperlink, select the text that has a hyperlink attached to it and click on the Remove Hyperlink button.

The most familiar tools to every person, who has ever had a chance to use a word processor, are the cut, copy and paste.
|
|
|
|
|
|
|
|
|
Undo and redo options ease every person’s life. These options are available also on the editor.
|
|
|
|
|
|
You can quickly add numbers to existing lines of text, or the Editor can automatically create lists as you type.
To remove the numbering:
1) Select the text from which you want numbering removed.
2) On the toolbar, click Numbering. 
|
|
To remove a single number you may also, click the number, and then press BACKSPACE. |

You can quickly add bullets to existing lines of text, or the Editor can automatically create lists as you type. To remove the bulleting, Select the text from which you want the bullets to be removed.
On the toolbar, click Bullets. ![]()
|
|
To remove a single bullet you may also, click the bullet, and then press BACKSPACE. |

Figure 9: Toolbar – Insert Image
Adding images to a web-site can be a complicated business. Ideally, before an image is uploaded, it should be edited to –
- The right size (in pixels), which in turn determines their size on the website.
- The right resolution for the web (either 72 or 96 dpi, for those familiar with the term),
- The right color format (RGB) - if the photo was taken with a digital camera, you don't need to worry about this; if you're familiar with the difference between RGB (web) and CMYK (printing) color formats, you know what we mean.
Warning: most digital camera images are sized too large for web viewing. Even though you can resize the larger image to fit into a smaller space, that is not recommended because it forces users to download oversized images, which affects the page load time of your site and could get you pushed down in the search results. At the same time, you also need to keep in mind "retina" screens on many Apple computers and devices. You may want to use "retina-ready" images, where the image size is doubled, and then compressed in the browser. (For example: you create a 200x200 pixel image and then on your webpage add it as a 100x100 pixel image.) Retina displays are commonly found on Macbooks, new iMacs as well as many of their phones and tablets.
How can you resize and touch-up images? Some versions of WPO have simple image editing tools built in, however most do not. If you need software to edit images, there are a number of free tools online, including Sumo Paint, that work well. If you will do a lot of photo-editing, we would recommend that you consider purchasing Photoshop. Keep in mind that when you edit images, you will probably need to:
- Make sure your images is a web-friendly file type (.jpg, .png, .gif);
- Ensure the photo is in RGB format (CMYK images will not display in many browsers);
- Reduce to the size you want, but consider going 2X the size for retina displays; and
- Re-sample your image to 72 dpi, if necessary.
Once you have your image web-ready, you can now insert an image into your WPO by following the steps below.
Start by placing your cursor in the editable area of the page where you want the image to go. Then click on the insert image button (shown above). You can now adjust the information in the window that pops up as follows:
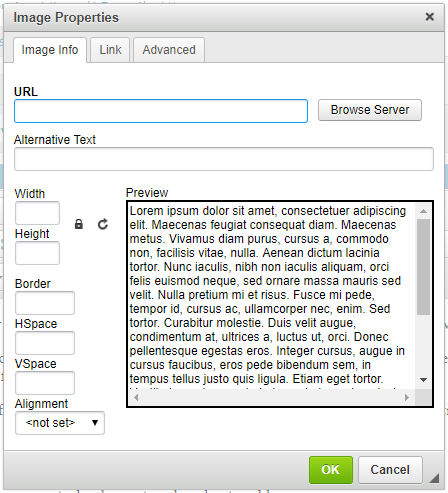
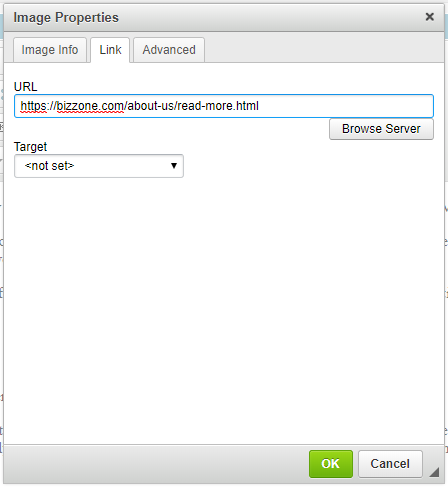
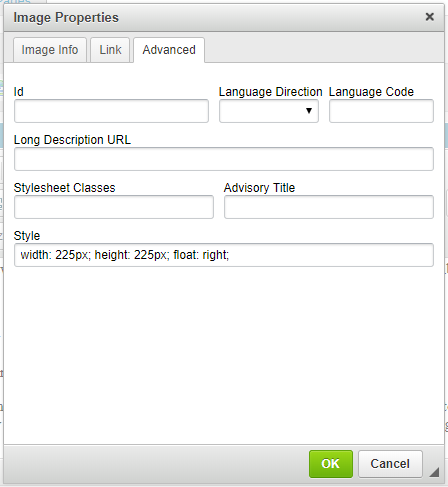
Figure 10: Insert image
Selecting an image: To select an image, click on the Browse Server button. A window, shown below, will appear.
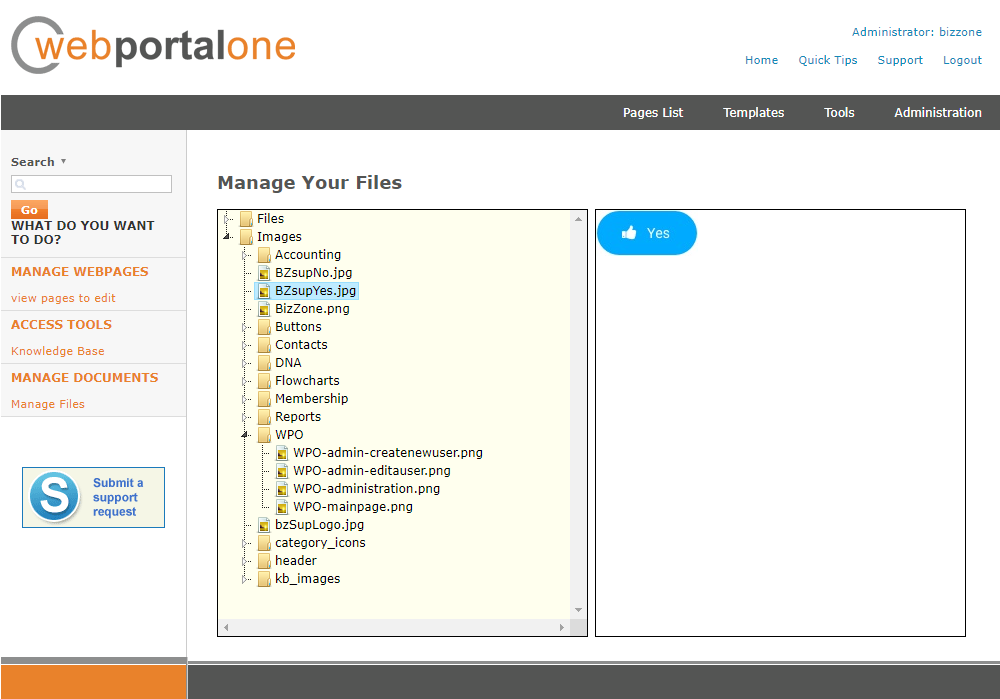
Figure 11: Insert image – File manager
You will see a folder for files and for images. There may also be other folders present. Click on the images folder and it will expand, showing the image files inside. If you click on any of the images listed in the left column, it will preview on the right.
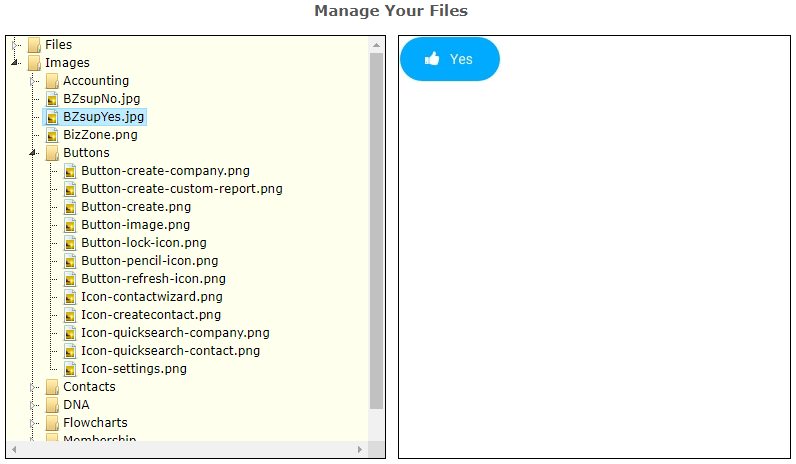
Figure 12: Insert image –File manager with preview
There are several things you can do from this window.
For Images Already Uploaded
If the image you want is already in the folder, simply double-click it. You will return to the original window, now containing the image information.

Figure 13: Insert image – Place the image
Here, you can adjust the image size or set the alignment. To place the image, click “OK.” (Tip: If you want to link the image to a webpage or file, click the “Link” tab above and follow the steps for adding a link from above.)
For Images Not Uploaded
If your image has not yet been uploaded, simply right-click on the “images” folder and click “upload.” A dialogue box will appear (shown below). Click “Choose File” and select the image from your computer. Once selected, click “Upload.” The file will now appear in the ‘images” folder in the left column. You can then select that image by double-clicking it, as described above.
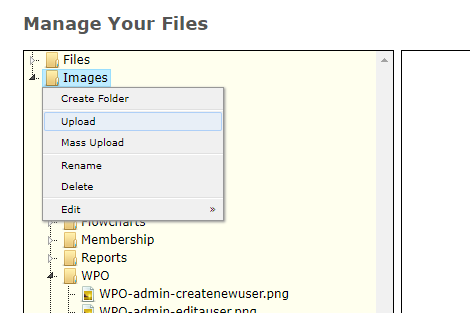
Figure 14: Upload image
You can upload several files at once by selecting the “Mass Upload” option. You can also right-click individual images and choose to delete them if you no longer wish to have them on the server. Note: do not delete images that are currently being used on the site.
|
|
Please make sure that the images you upload on to your WPO are in an RGB format, has the right resolution and that it is in the size that you want to appear on your WPO. |
Uploading files works exactly like the instructions for images, only you will use different steps to add the files to a page.
In most cases, you will want the files to be downloaded or open in a new window. In each situation, you will create text or an image on the page that you then link to the file. If you do not want the file to overwrite the page you are on, you need to set the link target to open in a new window.
Here is how you get the link to use for your file:
1) Navigate to the “Manage Files” link on the right side of the WPO main interface page. It will be listed under “Manage Documents.”
2) Expand the “files” folder by clicking it. You will now see a list of the files available.
3) Right-click a file and select “properties.” The pop-up will show a field called, “Embed Link.” Copy the URL.
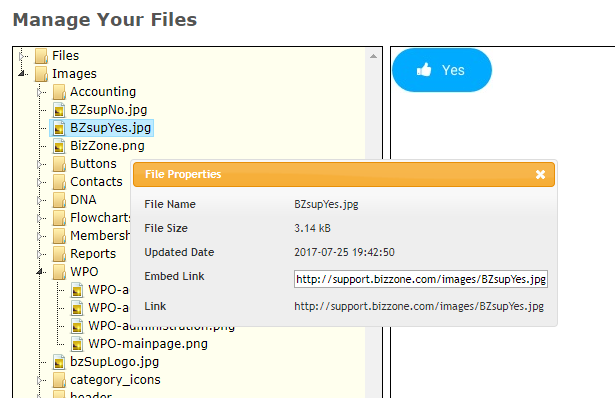
Figure 15: File properties
4) Follow the steps in section 5.2.1 to create a hyperlink, and use the “Embed Link” URL as the target.
Uploading new files is explained in section 4.0.
|
|
|
|
|
|
|
|
|
|
|
|
|
|
While you can manipulate the color, fonts and sizes of your text, it is not recommended. By relying on the stylesheets for your website, you will maintain a consistent look and feel while also ensuring that device-specific styles are preserved. |
|
|
|
|
|
|
|
|
|
|
|
|
|
|
|
|
|
|
2.5.15 STYLE AND FONTS
The Styles and Paragraph window together contains all the basic headline, paragraph and line break tools to create the layout, alignment and line breaks in your page.
|
|
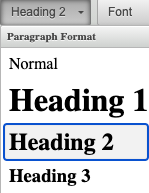
The paragraph format drop-down allows you to apply a default style to a text. To use this select the text you wish to apply the style to and then select the style you wish to apply from the Style drop down list on the toolbar.
|
|
|
|
The table model allows authors to arrange data, like text, preformatted text, images, links, forms, form fields, other tables, etc. - into rows and columns of cells.
To insert a table into the page, click where you want to create a table. Click the table icon on the toolbar.

Figure 16: Table
A smaller window pops up, which lets the user, set the properties of the table. To set Table Properties see section 2.5.18. To edit the properties of a cell see section 2.5.18.2
2.5.18.1 TABLE SET-UP
To insert a table click the Table ![]() button on the toolbar.
button on the toolbar.
|
|
|
|
Columns |
|
|
|
|
|
|
|
|
|
|
|
|
|
|
|
|
|
|
|
|
|
|
To change the Properties of the cell, right-click the cell and select “cell” and “cell properties.”
|
|
|
|
|
|
|
|
|
|
|
|
|
|
|
|
|
|
|
|
|
|
Cell Type |
Use this to specify whether the cell contains data or is a header. |
|
Row Span |
Commonly used in older webpage layouts, this lets you have more than one row span several columns. |
|
Column Span |
Commonly used in older webpage layouts, this acts like the "merge cells " option in Microsoft Word. |
To insert a row, select the cell after which the row is to be inserted, right-click “row” and select “insert row before,” or “insert row after.”
To insert a column, select the cell beside which the column is to be inserted, right-click “column” and select “insert column before,” or “insert column after.”
To delete a row or column, select a cell of the row which is to be deleted. Right click “row” or “column” and click “delete row” or “delete column.”
To merge cells, right-click in the cell. Select “cell.” You will have the option to merge cells up, down, left or right.
To split a cell, right-click in the cell. Select “cell.” You will have to option to split the cell horizontally or vertically.
Click on the Source button below the editing pane to support HTML scripting on your page.

Figure 17: Toggle between Design and HTML
You can now write in your HTML code in the editor. If you wish to go back to the design view of the page simply click on the Source button to return to the design mode. To preview this page, click on the Preview button above the editors pans as seen in section 3.4.1.5
Back